
This past summer I was fortunate enough to spend more than two months in Africa. During this time, we went on seven safaris throughout the continent, and had boundless opportunities to photograph wildlife. I learned a lot during this time about the proper methods of taking photos while on safari, and thought I would share my tips with the photography community. I hope that you find this tutorial useful, Africa presents a once in a lifetime experience for a photographer, and it pays to know what you’re doing.

Planning the proper photography setup to bring on an African safari can be an arduous ordeal. Many factors have to be taken into consideration including budget, weight, and space in the vehicle. In this tutorial I will try my best to provide insightful information that will allow you to take those epic once in a lifetime photos without (totally) breaking the bank.
I shoot with a full frame Canon 5D Mark II, but if you have a smaller camera body with an APS-C sensor have no fear, this can in fact work to your advantage on a safari where maximum telephoto range is of the essence. Many people forget that what you are viewing through a 1.6 lens factor crop body is actually 1.6 times the magnification of a full frame equivalent. In Lehman’s terms, this means that your 400mm lens is actually the equivalent of a 640mm range (400mm x 1.6) without the associated $12,000+ price tag! Don’t get totally caught up in epic tales of megapixels, this factor is vastly overrated in terms of producing quality images. Instead, allocate more of your total budget towards lenses, this is where you will see the difference.

In terms of lenses, you want to buy a lens that offers the maximum telephoto range within your budgetary constraints. Many off market brands such as Sigma and Tamron have large telephoto equivalents to Canon, but as they are out of the range of my expertise I will discuss the Canons. I would recommend a lens with a magnification of at least 400mm for an African safari. Within this range there are three options, the 400mm f/5.6L, 100-400mm f/4.5-5.6L, or the 400mm f/2.8 L IS II. Of course, the best overall lens is the f/2.8 for it’s superior low light performance, however, unless you have $11,000 kicking around you are likely limited to the first two. Although the 100-400 offers more versatility I would recommend the 400mm prime. It’s smaller, lighter (don’t underestimate this factor if you are traveling Africa as a backpacker and have to lug your own gear everywhere), cheaper, and offers greater image quality (this is marginal in my opinion, although as a rule of thumb primes are generally regarded to be optically superior to zooms). Remember that the animals on a safari are usually quite far away, and I can only think of a few instances where I wished I could zoom out to a lower magnification than 400mm.

It’s also advisable to carry a midrange zoom in your kit (I use the Canon 24-70 f/2.8L, but the Canon 24-105 f/4L is also a great option) for landscapes and other shots that demand a wider angle. Many photographers opt to travel with a ton of lenses, but I prefer to try to limit it to two for space and weight purposes. Also, bear in mind that many safaris are extremely dusty, and constantly changing your lenses increases the chances of getting dust on your sensor, a surefire way to ruin your safari in a hurry!
After buying your lens be sure to purchase a good UV filter. Why pay for high quality glass if you’re going to put a cheap filter on the end? Many amateur photographers think this makes no difference, but I can absolutely assure you that it does. I use only B+W filters, although others such as Heliopan are great as well. You may have to bite the bullet a bit with the initial price tag, but the good news is that many of Canon’s L series lenses have a 77mm thread, so the filters can be interchanged from one lens to the next. I also always carry a B+W circular polarizing filter and 8-stop ND filter. You never know what environmental situations you may encounter, and it pays to be prepared!

In terms of stability, many photographers opt to bring along a monopod or tripod, especially as the animals are most active in the early morning and late afternoon when the low available light can be tricky for photography. One thing to bear in mind is that many of the safari trucks get packed beyond capacity, offering little room to maneuver, and you will not always have a place to set up your gear. Try getting creative, use the frame of the vehicle to support the tripod collar in order to avoid camera shake. Remember that to avoid producing a shaky image, you need to shoot at a shutter speed equivalent to or faster than 1/focal length (mm). For example, to get clear shots with a 400mm lens, you need a shutter speed of at least 1/400s (take this into account if you have an APS-C sensor body, with a 400mm lens you need to be shooting at 1/640s or faster, which can be very difficult to attain handheld in low light!)

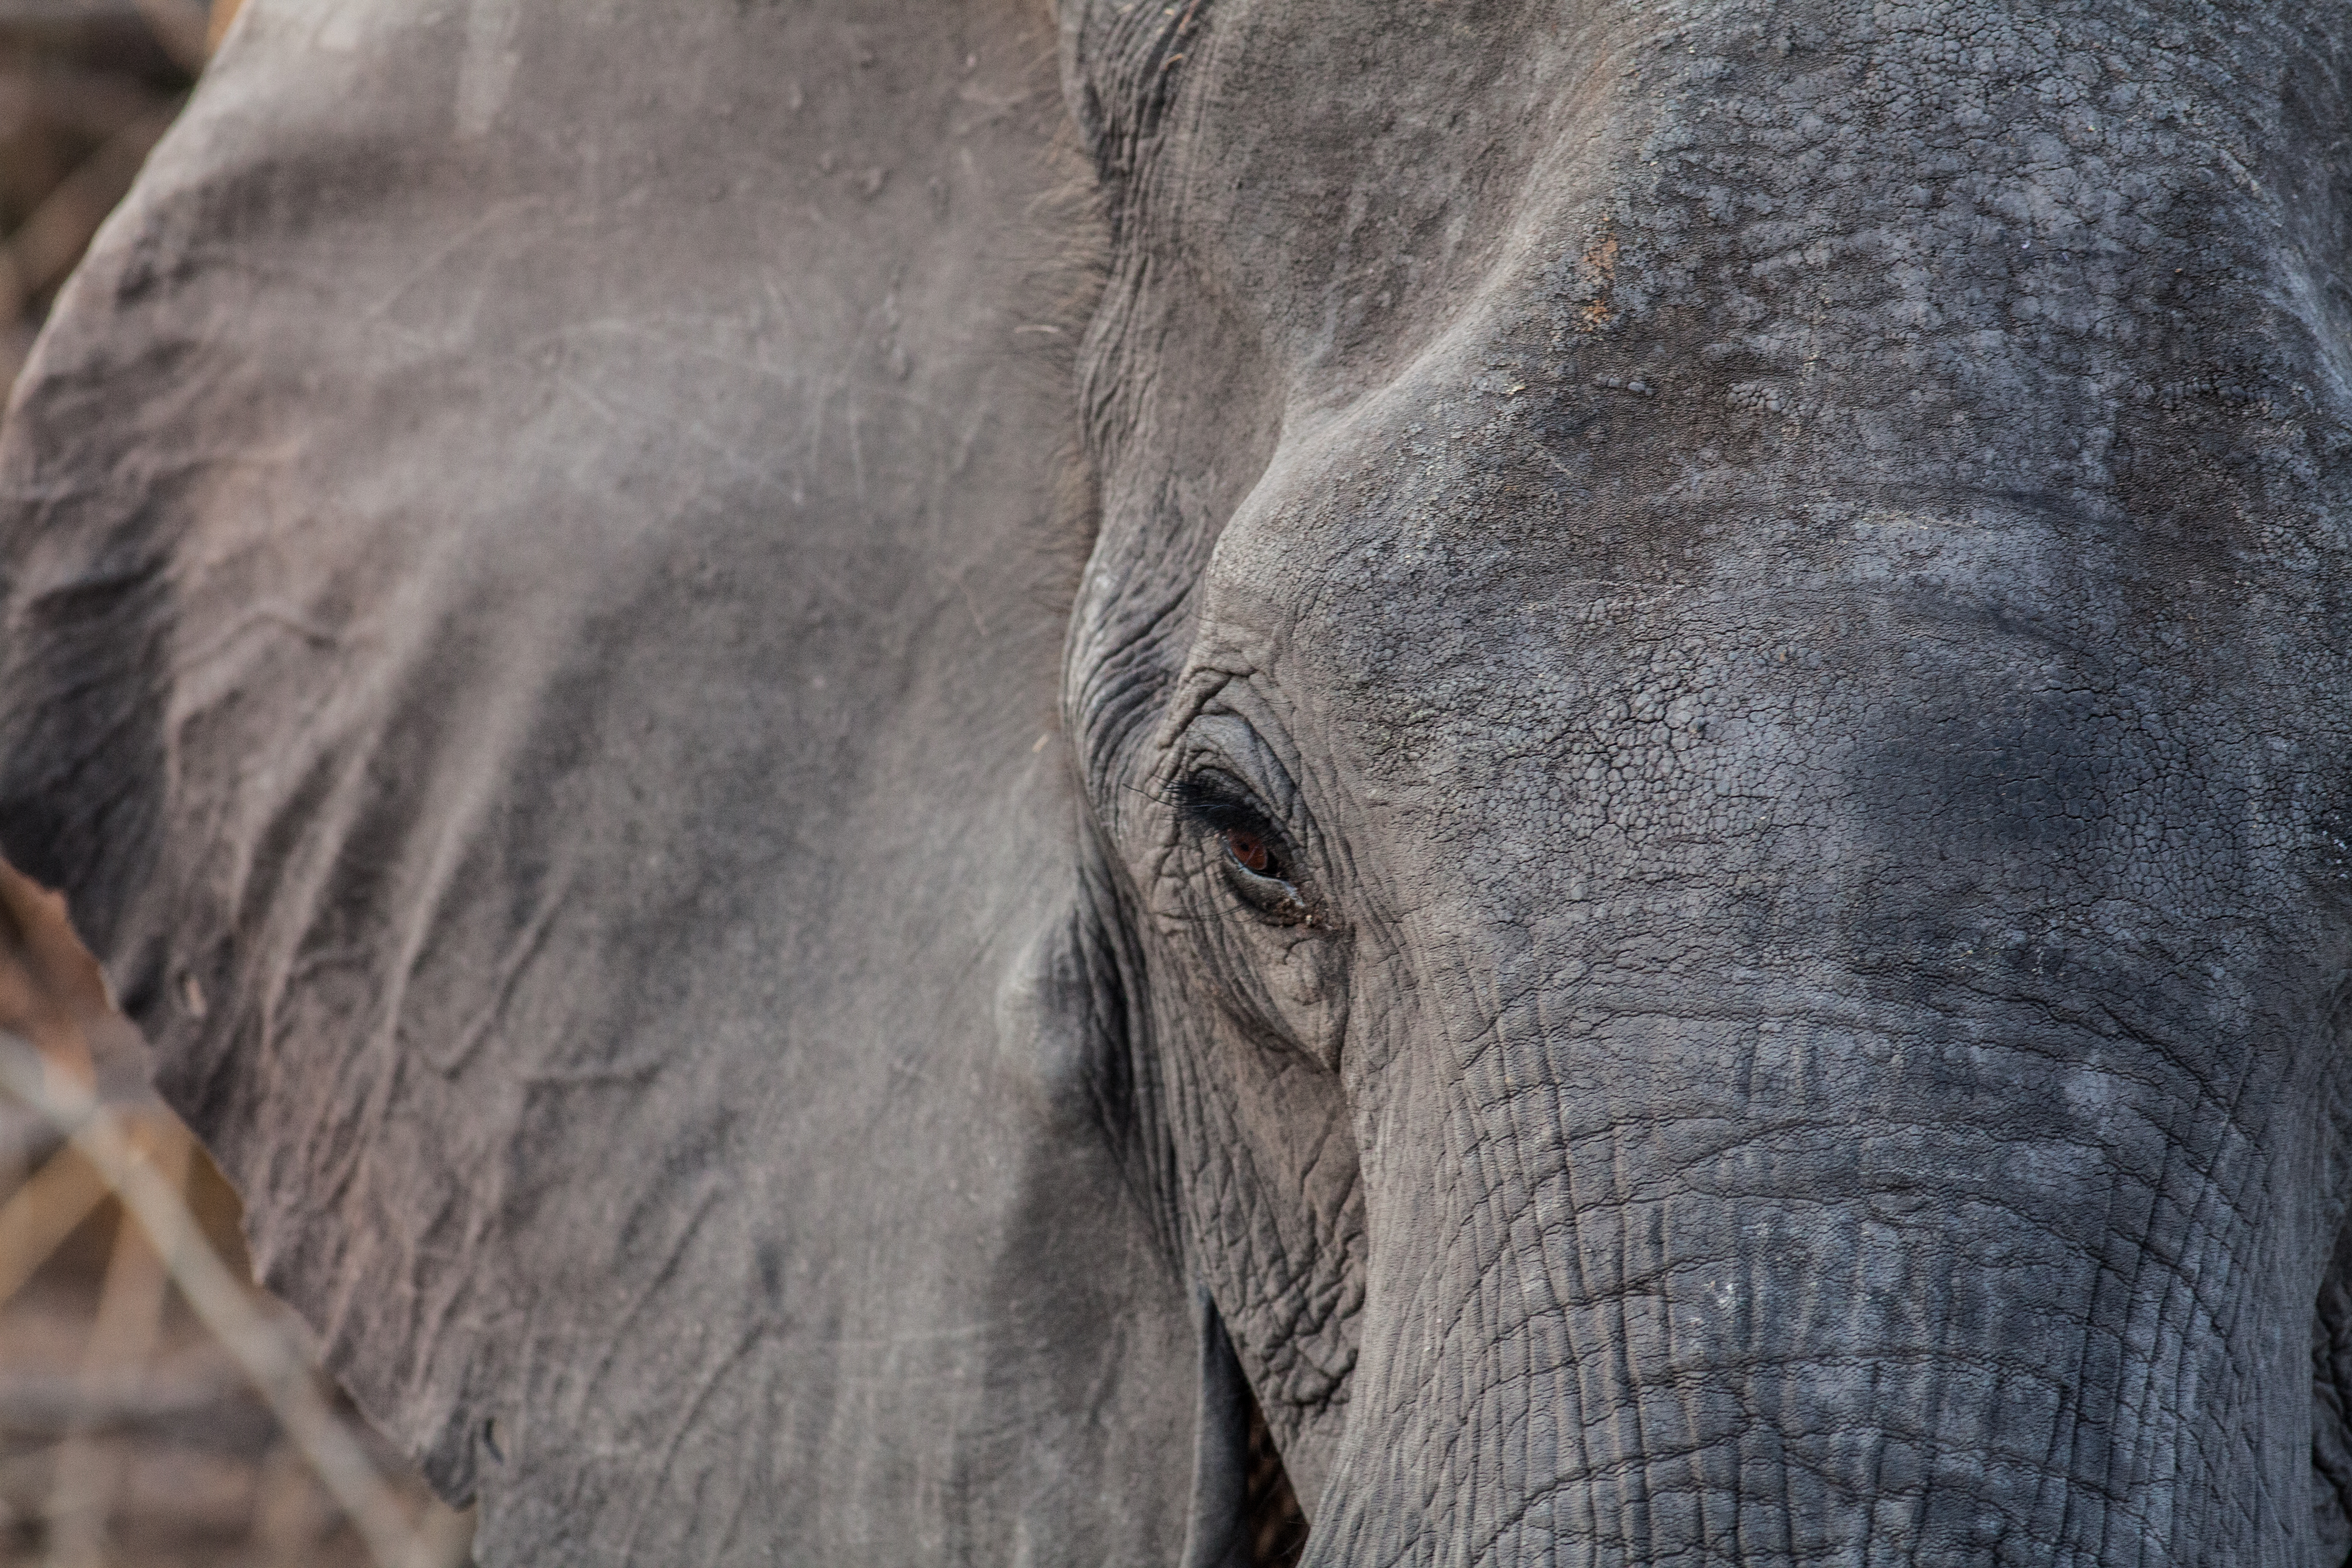
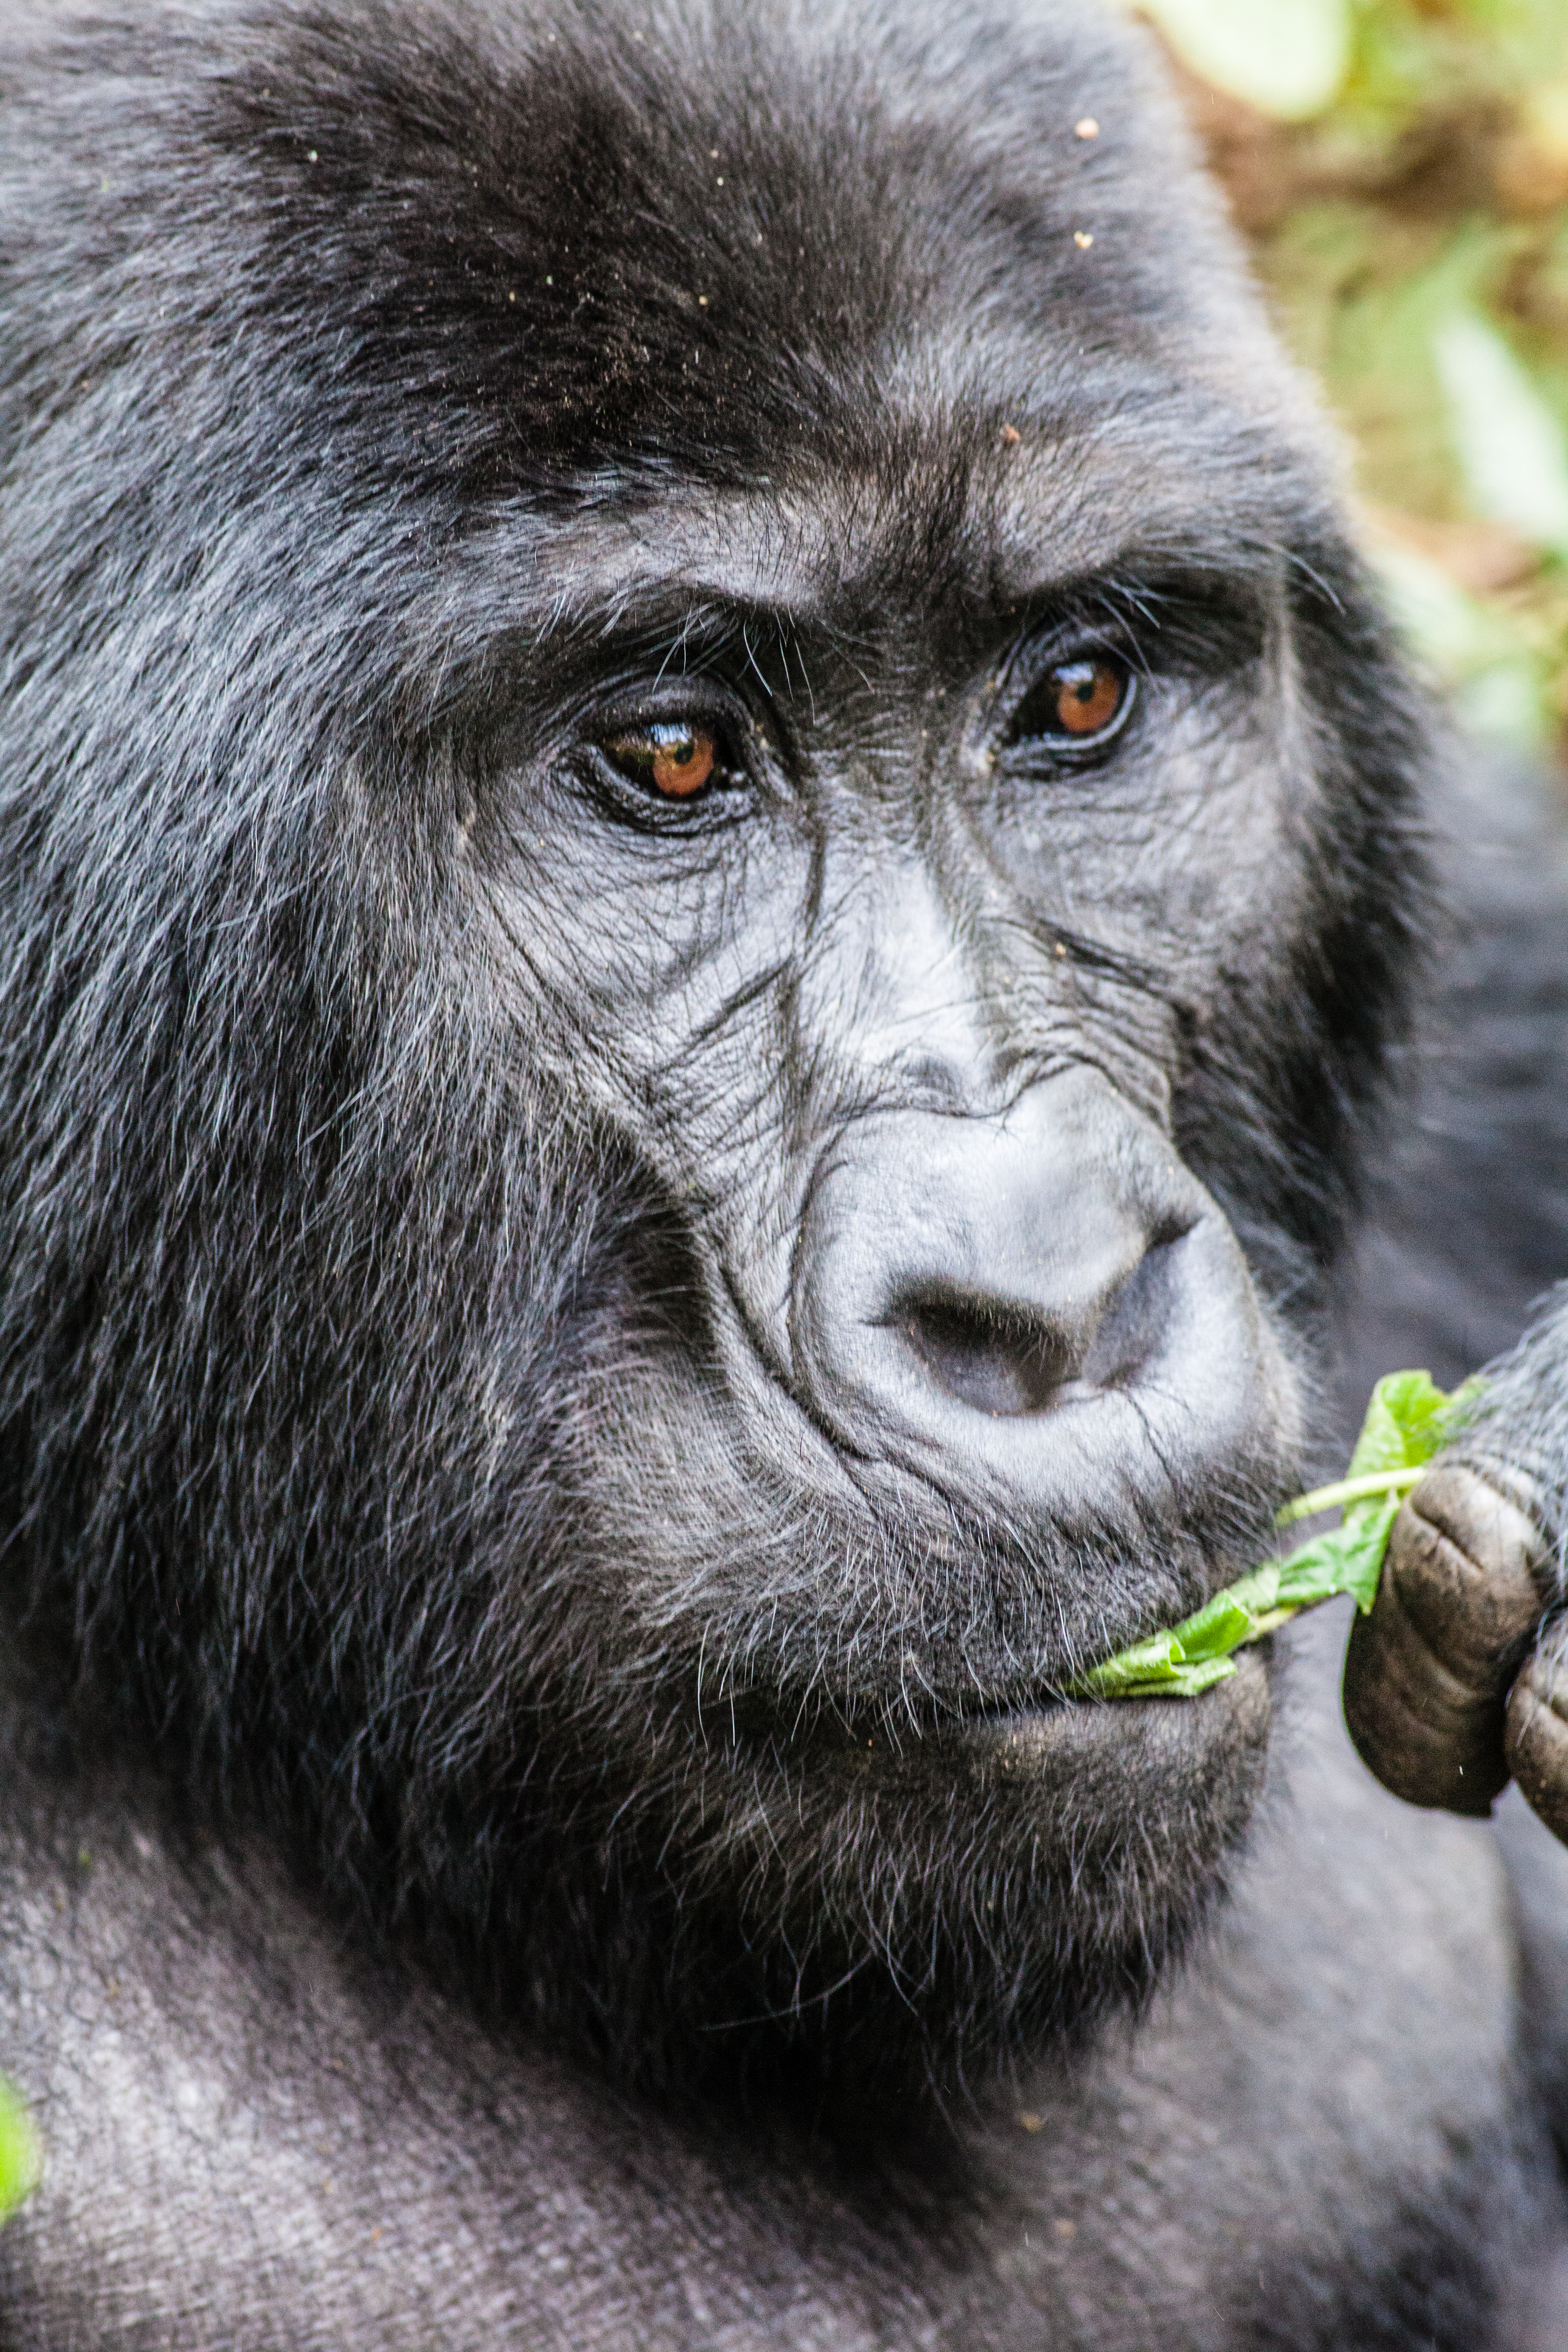
I prefer to shoot my images in manual mode, but bear in mind that the animals are wild and are not often inclined to hold poses for photographers. If you aren’t comfortable shooting in full manual, use aperture priority and set your aperture as wide open as possible. As with any form of photography, shoot at the lowest possible ISO in order to produce a crisp, clean image. I would always advise to focus on an animal’s eyes when taking the shot. Particularly when blowing up images, if the eyes are not in focus it will drastically affect the overall quality. At times your auto AF sensors will have trouble detecting this area, particularly if the animals are concealed in grass or foliage. I recommend learning how to set manual AF points on the fly, this will help to track the portion of the sensor you wish to focus on with minimal frustration.

Most importantly, get creative! Anyone can go out and shoot an animal on a safari, but how can you differentiate your images from the thousands of others produced? One method is to watch the animal’s behavior for a while before shooting. Oftentimes you will notice tendencies or movement, and be able to utilize this to your advantage in order to anticipate a shot that the others in your safari will miss out on. Also, be sure you understand how to work your camera and change settings quickly. I can’t tell you how many people I have seen with expensive gear and no clue how to use it that end up having a disappointing time, as they are unable to set up their camera settings properly in a timely manner. Go outside and practice in your neighborhood until you feel comfortable with all of the essential features of your camera. Above all, have fun! You are on the trip of a lifetime, make sure to get those amazing photos, but also step back and reflect on the incredible experience from time to time. I assure you that you won’t regret it.

